Showing posts with label Christmas. Show all posts

Thursday, January 8, 2015

winter formal happened

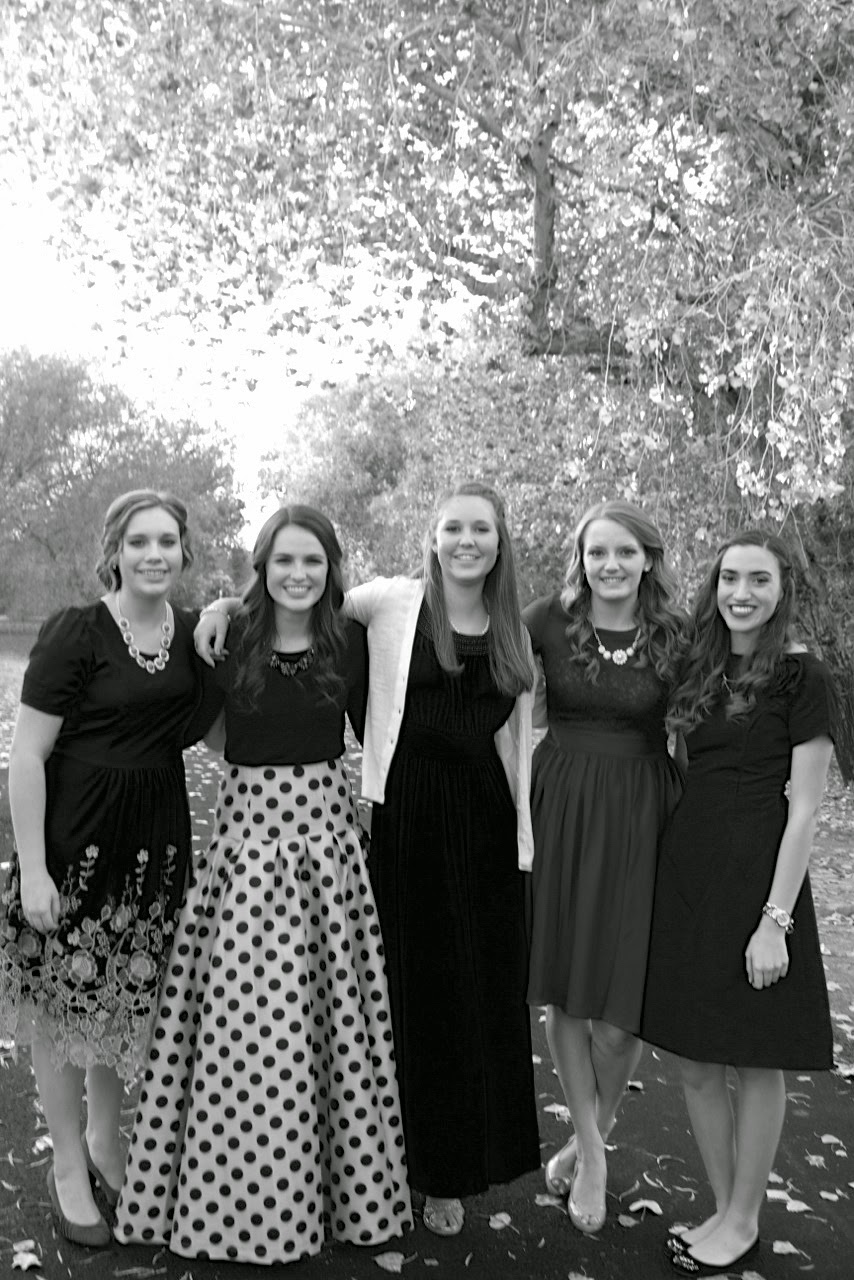
Hosting ten teens for their Winter Formal dinner was the best. A little stressful, but mostly just enjoyable to listen to their laughter and conversations. I loved it. This was a girl's choice dance so they planned the whole thing and did all the driving/picking-up of the dates. I didn't get to see firsthand the always-awkward pinning of boutonnieres and corsages at the boy's house, or group photos at the nearby wash. But I did get to welcome them into our home for games and food. It was awesome.  
One of the boys was not present for the photo shoot. He was off winning a tennis tournament, and so his date, far left, was trying to look pouty and mad for this shot. Maybe she really was upset, but she handled it gracefully. The photographer was a friend from the neighborhood who has her own little photography business. She did a great job! And eventually, the tennis champion arrived late for dinner. Bummer for the photo shoot tho.
Also, everyone is so color coordinated. None of that was planned, except for between couples. Kind of fun when it's accidental.
The dinner menu:
Make Your Own Italian Cream Soda
Penne Alfredo with Chicken or Angel Hair Pomodoro 
(both from Rosati's) Took a friend's advice to not stress about the main dishes. So glad I did that!
Green Salad with Homemade Creamy Italian Vinaigrette
Homemade Garlic Rolls
Roasted Carrots
Oh, and Jonah and Owen were my waiters - they dressed up in white shirts and bow ties, but I didn't get a good photo of them. Darn. They did a great job and got to make Italian Sodas to their hearts' content as payment.
After dinner and lots of laughter playing Apples to Apples, the group headed out to another house to decorate sugar cookies and watch Elf. Eventually they made it to the dance too.
And now I must thank you for making it all the way through this photo marathon.

Wednesday, December 24, 2014

from our family to yours

Merry Christmas!

Tuesday, January 14, 2014

so this is Christmas

                    
I know. Christmas is the last thing on your mind. But I am still basking in its glow. Maybe because I really started to feel the Christmas spirit only about five days before Christmas. (Not good, I know.) Maybe because my live tree still stands in my living room - unwatered since New Years Day, and unadorned since last week. Maybe because the actual day was wonderful and we enjoyed staying home with cousins and grandparents-a-plenty. And then we continued to celebrate with them days after the actual day.
You can enjoy Christmas again/still too. Walk with me down Christmas lane.


Thursday, December 12, 2013

Holly Jolly Decor of Yore

We recently acquired a big box of Mark's missionary memorabilia that's been stowed away in Mark's childhood basement. The best thing about that box, aside from the sweet 90's photos, was definitely a giant felt Christmas stocking. I'm a little obsessed with it and my bad pictures don't do it justice! Mark's mom made it for him while he was on his mission and sent it to him, probably full of homemade fudge and deodorant.
Jonah asked if I'm going to make one for him when he's on his mission too. I made sure he knew that not every missionary gets a handmade giant felt missionary stocking, but I could probably whip something up. I don't know if  I could duplicate such a gem as this though! 
Mark's mom also made these "chunky santas" over about a ten year stretch - mostly through the 90's. Each is signed and dated and I am in love with them. It's been several years since I pulled them out, but recently, while cleaning out the boys' closet, I rediscovered them. We've been missing out for sure. My kids are completely delighted too. 
People give tole painting a bad wrap, sometimes rightfully so. But not in this case. Mark's mom is a "detail" person and she can paint anything! These santas are perfect.
Hank is completely obsessed. He spends hours everyday moving the santas from the piano, to the TV stand, to the floor, then back up to the piano. Each transfer is meticulous and perfectly straight and aligned. We cannot make adjustments or accidental bumps without repercussions from Hank. I have told him how special they are, so he is very careful with them.
And then there's our tree. It looks and smells great: might just be the best tree we've ever had! But when will I ever get it lit? It's killing me. I think I make this same tree post every year.

Friday, January 11, 2013

a bunting

This Christmas, despite my great intentions, I only made one homemade gift: a flag bunting for my sister in law, Liz. It is meant to be birthday party decor, or Independence day decor, or anything-she-wants-decor. I also made one for Hank and George's birthday, as seen here.
 
 To make this flag bunting, follow these easy steps.
1. For the triangle template, start by cutting a rectangle out of a piece of lightweight cardboard: 10" x 7".  I used gum box packaging. A cereal box would work well too.
2. Fold it in half, lengthwise.
3. Using a rotary cutter and ruler, cut a triangle using the middle fold as your center point, on each side. This gives you a perfect triangular shape.
4. Fold your fabric in half, at least 10 inches over.
5. Put some painter's tape on the back of the triangle template. You'll still need to hold it while cutting, but the tape helps keep it in place under the ruler.
6. Place the base of the template on the fold of the fabric.
7. Use your rotary cutter and ruler (aligned with the cardboard template) to cut out the fabric. Don't cut the folded side. When unfolded, it will look like this:
8. Repeat steps 6 and 7 with several more fabrics. I used about 6 prints, making 11 flags altogether.
9. I used some twine I already had. Without cutting any from the roll, I just unwound a little as I went. Make sure to give yourself at least 3 feet of twine on each side of the the whole bunting, to allow for easy hanging.
10. Unfold your triangle, wrong side up. Place twine at the fold of the flag and fold the triangle over onto itself. Secure the twine in place by sewing right next to it, and then all the way around the flag. Use a 1/4 inch seam from the edge. Try not to sew over the twine, so you can slide the placement of each flag, as needed, when you are done. The edges will be raw, and that's intentional.
11. Continue sewing each flag onto the twine. Placement isn't a big worry as you sew, because, like I said, you can adjust that later.
12. I tied a little knot at both ends of the bunting, to keep the flags somewhat in place, but that's probably not necessary.
Pretty easy. I think this would also be so cute in all one color. Lots of possibilities here!

Thursday, January 3, 2013

repeat the sounding joy

Our traditional Christmas. a la instagram.
Tradition: All dressed up for Christmas Eve dinner.

{Vintage dress found at Mesa thrift store.}

Tradition: The teen table - Christmas Eve.

New Tradition: Danish Christmas.
Tradition: New Christmas Eve pjs.
Tradition: Mesa temple lights.
Tradition: New ornaments for the kids. {Silver fox was an after-Christmas sale at Target.}
I bought these decorative straw orbs in Prague 8 years ago. They've been mostly stored away. They are now my new favorite ornaments since I realized I could attach some string and hang them on the tree.
My latest Gilbert Temple photo - December 2012.