Showing posts with label DIY. Show all posts

Wednesday, November 20, 2013

map quest

This new craigslist dresser sat empty for several weeks. Mostly because I wanted to thoroughly clean it, inside and out, before filling it with the boys' clothes.
I had only quickly wiped it down when I brought it home, but I removed loads more dirt and grime with a mixture of warm water, vinegar and liquid dawn.
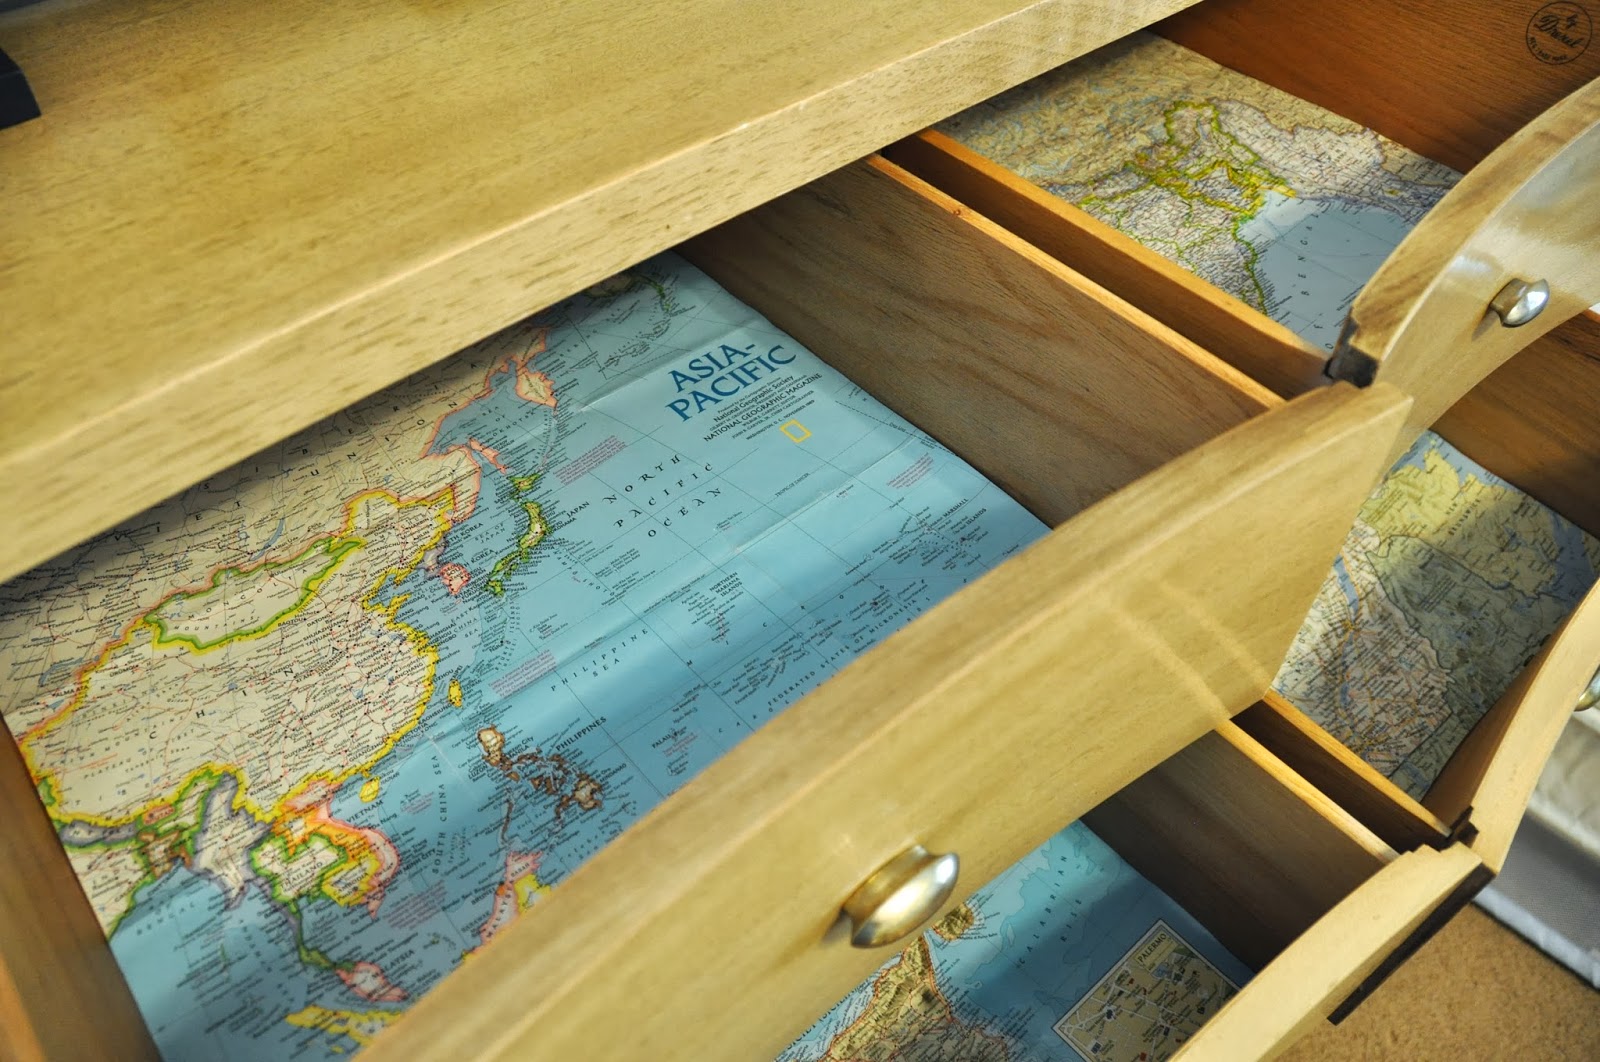
I was sort of on a roll, so I decided to line the drawers with old National Geographic maps I bought on the cheap on ebay years ago. (For awhile, those same maps lined the walls of Jonah and Owen's room, but I took them down when we repainted a few years ago.) 
Since the drawers have that curved front, I had to create a template with some brown kraft paper first, then traced that onto the maps and cut them out. 
I also used 505 adhesive spray to adhere the maps to the drawers. That way there will be no shifting, and the maps, which were previously folded, can lay perfectly smooth and flat. (Tip: spray the map, not the wood.) The spray is a temporary adhesive, so the maps can be removed easily. The whole process was trickier than you might think. (The spray glue was easy. The template cutting was the tricky part because each drawer is not exactly the same size. Slight discrepancies meant lots of trimming.)
I don't usually line my dresser drawers. I know some people do, but I have never really seen the need. Until now. It just seemed like the old drawers, though newly clean, needed a buffer before putting little boys' clothes in them. 
That was a good theory until I realized I was physically and mentally done with this project before getting to the big drawers on the bottom. They remain unlined. And full of clothes. 
Even after my big scrub-down, the dresser still probably needs a good drawer freshener. Maybe some cedar. Also painting is not out of the question. That's just on the back burner for now.

Friday, January 11, 2013

a bunting

This Christmas, despite my great intentions, I only made one homemade gift: a flag bunting for my sister in law, Liz. It is meant to be birthday party decor, or Independence day decor, or anything-she-wants-decor. I also made one for Hank and George's birthday, as seen here.
 
 To make this flag bunting, follow these easy steps.
1. For the triangle template, start by cutting a rectangle out of a piece of lightweight cardboard: 10" x 7".  I used gum box packaging. A cereal box would work well too.
2. Fold it in half, lengthwise.
3. Using a rotary cutter and ruler, cut a triangle using the middle fold as your center point, on each side. This gives you a perfect triangular shape.
4. Fold your fabric in half, at least 10 inches over.
5. Put some painter's tape on the back of the triangle template. You'll still need to hold it while cutting, but the tape helps keep it in place under the ruler.
6. Place the base of the template on the fold of the fabric.
7. Use your rotary cutter and ruler (aligned with the cardboard template) to cut out the fabric. Don't cut the folded side. When unfolded, it will look like this:
8. Repeat steps 6 and 7 with several more fabrics. I used about 6 prints, making 11 flags altogether.
9. I used some twine I already had. Without cutting any from the roll, I just unwound a little as I went. Make sure to give yourself at least 3 feet of twine on each side of the the whole bunting, to allow for easy hanging.
10. Unfold your triangle, wrong side up. Place twine at the fold of the flag and fold the triangle over onto itself. Secure the twine in place by sewing right next to it, and then all the way around the flag. Use a 1/4 inch seam from the edge. Try not to sew over the twine, so you can slide the placement of each flag, as needed, when you are done. The edges will be raw, and that's intentional.
11. Continue sewing each flag onto the twine. Placement isn't a big worry as you sew, because, like I said, you can adjust that later.
12. I tied a little knot at both ends of the bunting, to keep the flags somewhat in place, but that's probably not necessary.
Pretty easy. I think this would also be so cute in all one color. Lots of possibilities here!

Friday, September 14, 2012

trash to treasure


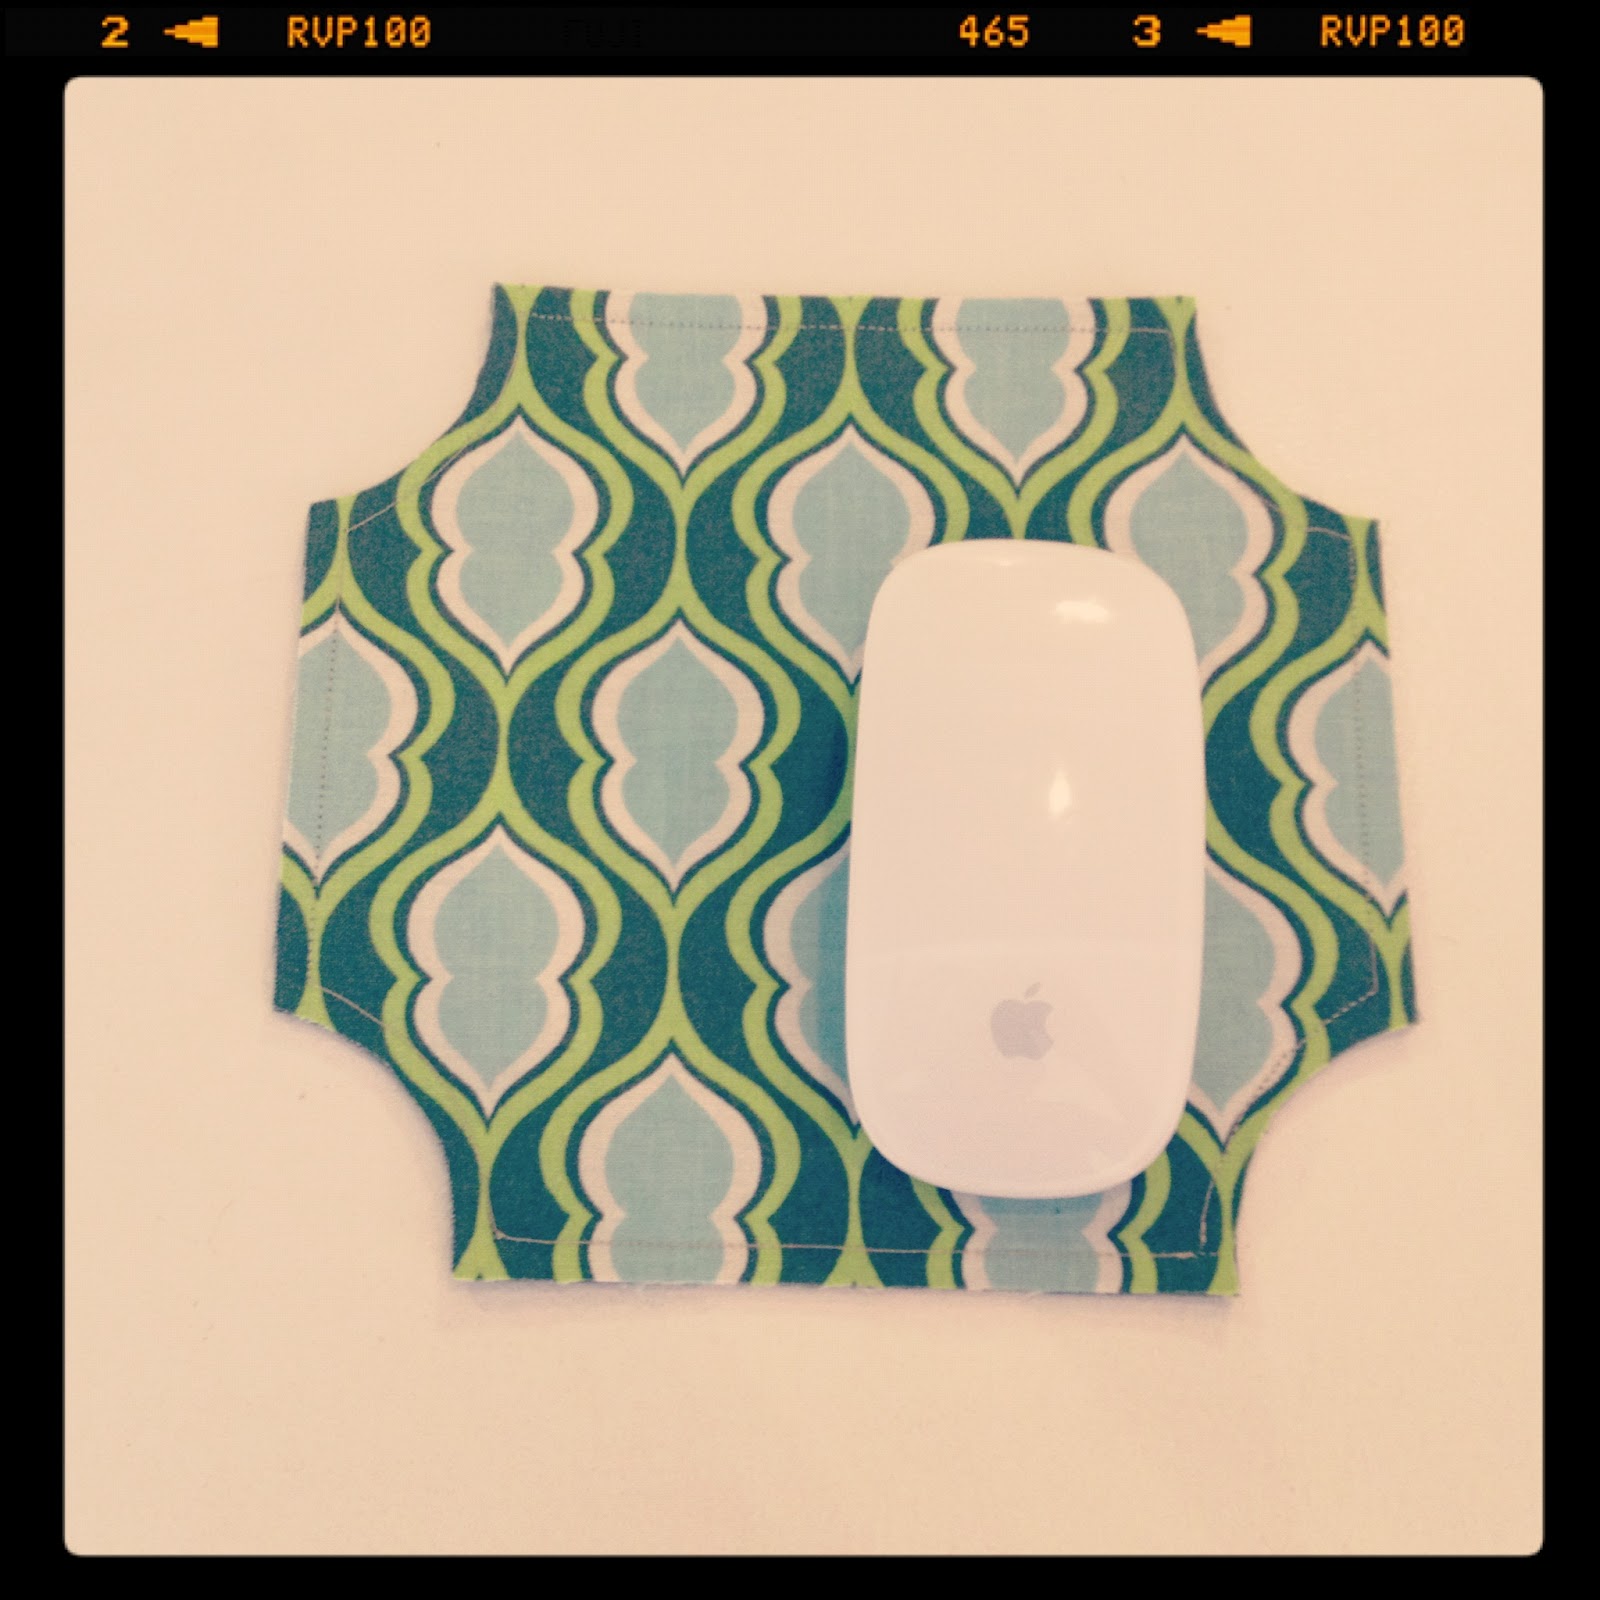
On a whim, I decided to redo a deteriorating old mousepad I was ready to throw out. The only reason I kept it was for the old computer the kids occasionally use. But it was a real eyesore. I would love to not use mousepads at all, but the glass top on our desk, requires it.
So, I followed this tutorial by Emily from Jones Design Company. Super easy. And not perfect at all, but so much better.

Saturday, December 3, 2011

advent actuality

Advent calendars are the best, aren't they? A few years ago, I found little numbered bags on etsy, but they were a little pricey. I blogged about them here. So this year I was quite happy to discover Lindsay's free number download. (I bought the plain 4 x 6 bags on Amazon.) Yesterday (2 days late), I finished ironing the numbers onto the bags and filled them with goodies. No small task.
Today (3 days late), I showed the kids all of my hard work. Were they impressed? Yes! They were excited, because today, due to their mother's procrastination, they got to open 3 bags. Forget how cute the bags are. Forget how much time and love went into each iron-on number. 3 BAGS, for heaven's sake!
The only place the two year olds can't easily get the bags is on the chandelier, so that's where they hang. I am considering other options, because, who am I kidding? 2 year olds need only to climb on the table and the bags are goners. They haven't made this realization yet.
These mini ornament people were day 1. The kids love them. They're from Target, fyi.
Suckers for day 2 and mini donuts for day 3. Next year I may just forgo the treats and do all ornaments or nativity pieces.  Then, it's done for years to come.
p.s. we got our tree at Costco again.

Friday, March 4, 2011

cross it off the list

Last night I did not sleep soundly. I kept waking up because of the undone things on my to-do list. #47 was "Buy gift for birthday party (Grace's friend)."

The party was today, immediately after school. I needed to have the gift ready this morning so she could take it to school with her.  Didn't happen.  So this morning, we searched through my emergency gift trove, but found nothing suitable in Grace's eyes. I assured Grace I would run to the store and pick out something cute/fun, then bring it to school since I would be there anyway teaching Art Masterpiece in Jonah's class (#23 on the list - that's a whole nother story).

The reality of it all is that I have twin toddlers.  I don't ever take them to the store.  I could, I suppose.  But I don't.

Nonetheless, I was ready to make an exception in the name of a birthday party. I would just load H and G in the stroller, make an unwavering path through a cute boutique Target, and it would be easy.

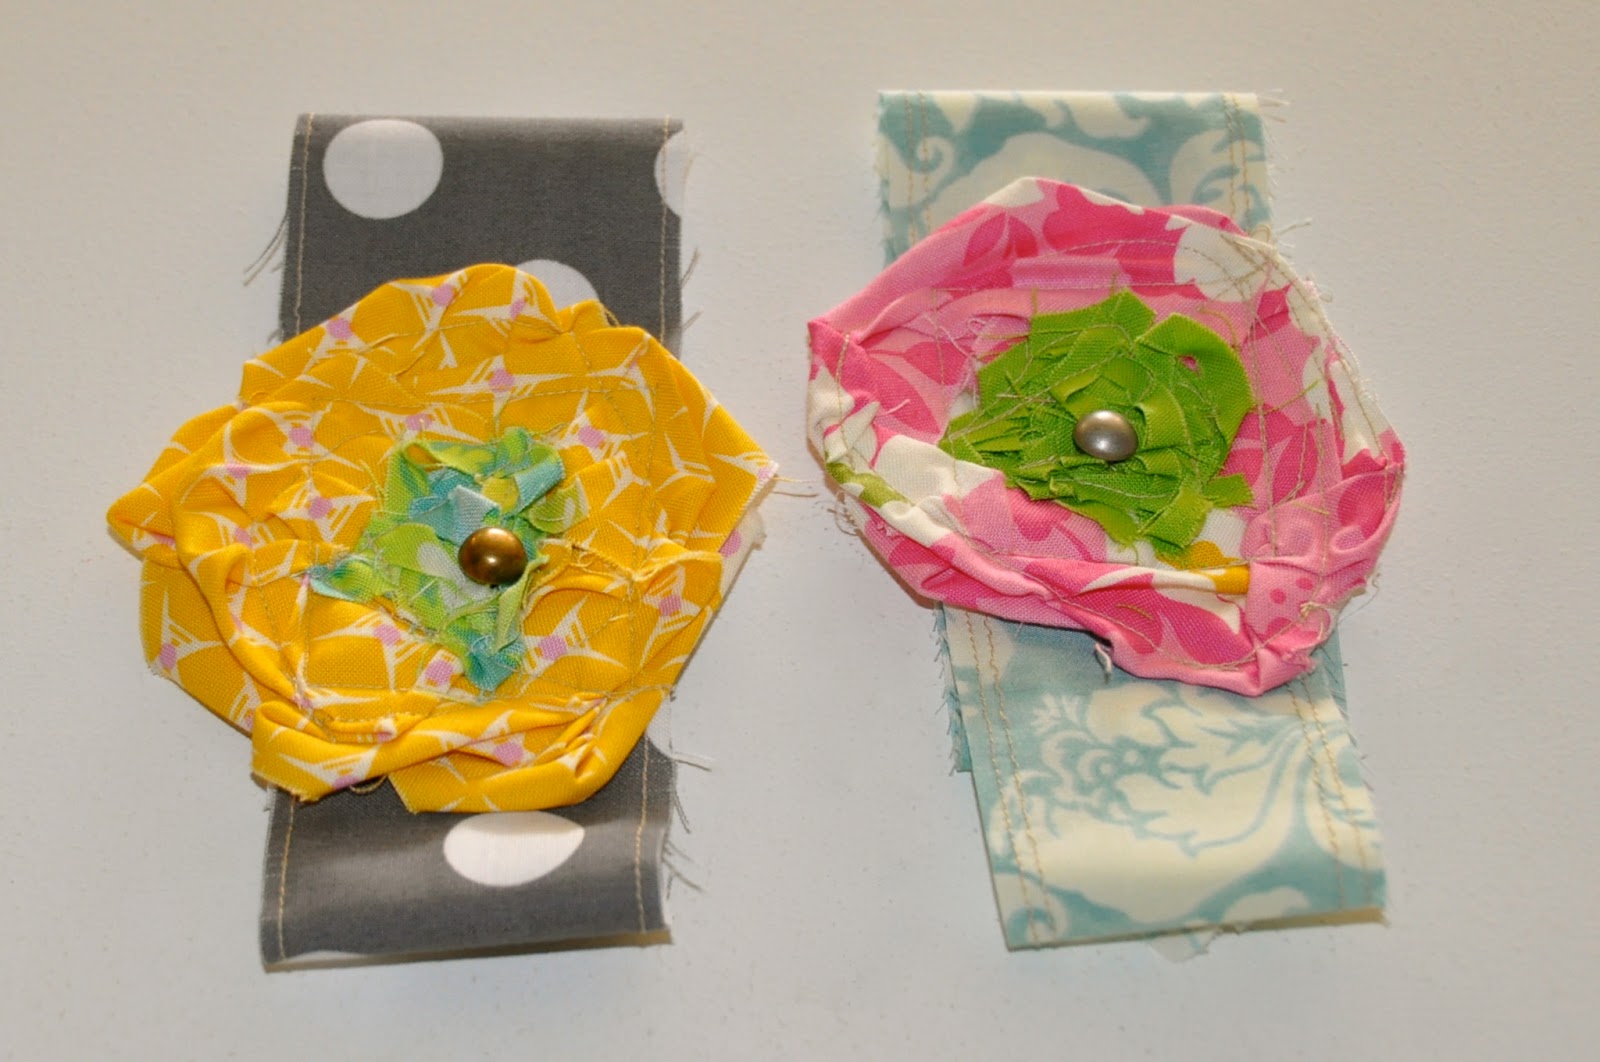
My brave plan was thwarted when both boys demanded a nap.  So I spent my whole morning making a gift instead (it took longer than you'd think).  I found a headband Molly bought last summer at BYU's Campus Craft and started copying it. I made 2. They turned out better than I hoped, for my first try.
[The raw edges are deliberate. They already started fraying a little, but Molly's has frayed too and it still looks cute.] 
Molly just came home and saw these images and is begging me to make her some.  That's the true sign of success.

Tuesday, December 11, 2007

Lee portraits


When my friend Ashley saw my sister-in-law's beautiful home in the AZ Republic and here, she went right to work and made her OWN family silhouettes. I think they turned out so great! Perfect with her new red paint and the rest of her beautiful home. Nienie, you inspire. Ashley, you as well.
That's the lovely Ashley on the left. With our lovely friend, Jen from Kennewick, WA. {Can I get a whoop whoop for the Tri-cities!!?} Can't wait to see you again Jen.